这里以 USTC-CG 的框架为例,展示了应该如何美化 Dear ImGUI 的界面。
主题 - 修改颜色与控件大小 可以在 Github 上找到一些 ImGUI 的主题包,如:Madam-Herta/Moonlight: Dear ImGui modern theme
将 style.h 放在 include/ 下的某个目录里。修改进入 ImGUI 窗口的代码:
1 2 3 4 5 6 7 8 9 10 11 12 #include "{your/path/to}/style.h" if (!init_gui ()) { glfwDestroyWindow (window_); glfwTerminate (); throw std::runtime_error ("Failed to initialize GUI!" ); } SetupImGuiStyle (); }
即可看到美化的主题:
字体的修改 1 2 3 4 5 6 7 8 在窗体被构造后导入一个字体,ImGUI 会自动用导入的字体代替初始字体。 SetupImGuiStyle (); ImGuiIO& io = ImGui::GetIO (); ImFont* font = io.Fonts->AddFontFromFileTTF ("./Font.ttf" , 18.0f , nullptr , io.Fonts->GetGlyphRangesDefault ()); IM_ASSERT (font != nullptr );
我们可以在 CMakeLists.txt 里加入以下代码,这样就算不小心删除了 Binaries 也可以自动将字体复制 Debug/Release 目录下。
1 2 set (FONT_NAME Font.ttf)configure_file (prettier-imgui/${FONT_NAME} ${OUT_BINARY_DIR} /${FONT_NAME} COPYONLY)
[USTC CG] 时间条硬编码的修正 修改字体后我们会发现时间条被遮住了。这是因为时间条的高度是硬编码的。我们修改 usdview_engine.cpp:
1 2 3 auto size = ImGui::GetContentRegionAvail ();size.y -= 48 ;
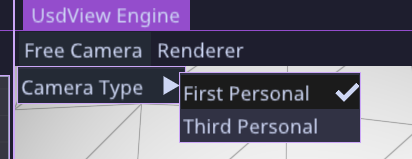
[USTC CG] 下拉菜单修正 Free Camera 等下拉菜单看起来太挤:在其上下补 ImGui::Spacing()。
1 2 3 4 5 6 7 8 9 10 11 12 13 14 15 16 17 18 19 20 21 22 23 24 25 if (ImGui::BeginMenu ("Free Camera" )) { ImGui::Spacing (); if (ImGui::BeginMenu ("Camera Type" )) { ImGui::Spacing (); if (ImGui::MenuItem ( "First Personal" , 0 , this ->engine_status.cam_type == CamType::First)) { if (engine_status.cam_type != CamType::First) { free_camera_ = std::make_unique <FirstPersonCamera>(); engine_status.cam_type = CamType::First; } } if (ImGui::MenuItem ( "Third Personal" , 0 , this ->engine_status.cam_type == CamType::Third)) { if (engine_status.cam_type != CamType::Third) { free_camera_ = std::make_unique <ThirdPersonCamera>(); engine_status.cam_type = CamType::Third; } } ImGui::Spacing (); ImGui::EndMenu (); } ImGui::Spacing (); ImGui::EndMenu (); }
高 DPI 显示器适配支持 如果你的显示器设置了 100% 以上的高 DPI 适配,那么做完以上修改后,屏幕上的字体仍然是模糊的。需要进一步修改 ImGUI 的接口。
这里参考了 High DPI scaling on Mac OS and glfw · Issue #5081 · ocornut/imgui 问题下 TheBrokenRail 的回答 :
1 2 3 4 5 6 7 8 9 10 11 12 13 14 15 16 17 18 19 20 21 22 23 24 25 26 27 28 29 30 31 32 33 34 35 36 37 38 39 40 41 42 43 44 45 46 47 48 49 50 51 52 53 54 55 56 57 58 59 60 61 62 63 64 65 66 67 68 69 70 71 float ImGui_ImplGlfw_GetDpiScale () float ImGui_ImplGlfw_GetDpiScale () int monitors_count = 0 ; GLFWmonitor** glfw_monitors = glfwGetMonitors (&monitors_count); if (monitors_count == 0 ) return 1.0 ; float x_scale, y_scale; glfwGetMonitorContentScale (glfw_monitors[0 ], &x_scale, &y_scale); return x_scale; } static void ImGui_ImplGlfw_ScaleMousePos (GLFWwindow* window, double &x, double &y) float dpiScale = ImGui_ImplGlfw_GetDpiScale (); x *= dpiScale; y *= dpiScale; } void ImGui_ImplGlfw_CursorPosCallback (GLFWwindow* window, double x, double y) ImGuiIO& io = ImGui::GetIO (); ImGui_ImplGlfw_ScaleMousePos (window, x, y); if (io.ConfigFlags & ImGuiConfigFlags_ViewportsEnable) { } static void ImGui_ImplGlfw_UpdateMouseData () mouse_x += window_x; mouse_y += window_y; } ImGui_ImplGlfw_ScaleMousePos (window, mouse_x, mouse_y); bd->LastValidMousePos = ImVec2 ((float )mouse_x, (float )mouse_y); io.AddMousePosEvent ((float )mouse_x, (float )mouse_y); } void ImGui_ImplGlfw_NewFrame () int w, h; int display_w, display_h; glfwGetWindowSize (bd->Window, &w, &h); glfwGetFramebufferSize (bd->Window, &display_w, &display_h); float dpiScale = ImGui_ImplGlfw_GetDpiScale (); io.DisplaySize = ImVec2 ((float )w * dpiScale, (float )h * dpiScale); if (w > 0 && h > 0 ) io.DisplayFramebufferScale = ImVec2 ((float )display_w / (float )w / dpiScale, (float )display_h / (float )h / dpiScale); if (bd->WantUpdateMonitors) ImGui_ImplGlfw_UpdateMonitors (); } #include "backends/imgui_impl_glfw.h" float dpiScale = ImGui_ImplGlfw_GetDpiScale (); ImFont* font = io.Fonts->AddFontFromFileTTF ("./Font.ttf" , 18.0f * dpiScale, nullptr , io.Fonts->GetGlyphRangesDefault ()); #include "backends/imgui_impl_glfw.h" size.y -= 48 * ImGui_ImplGlfw_GetDpiScale ();
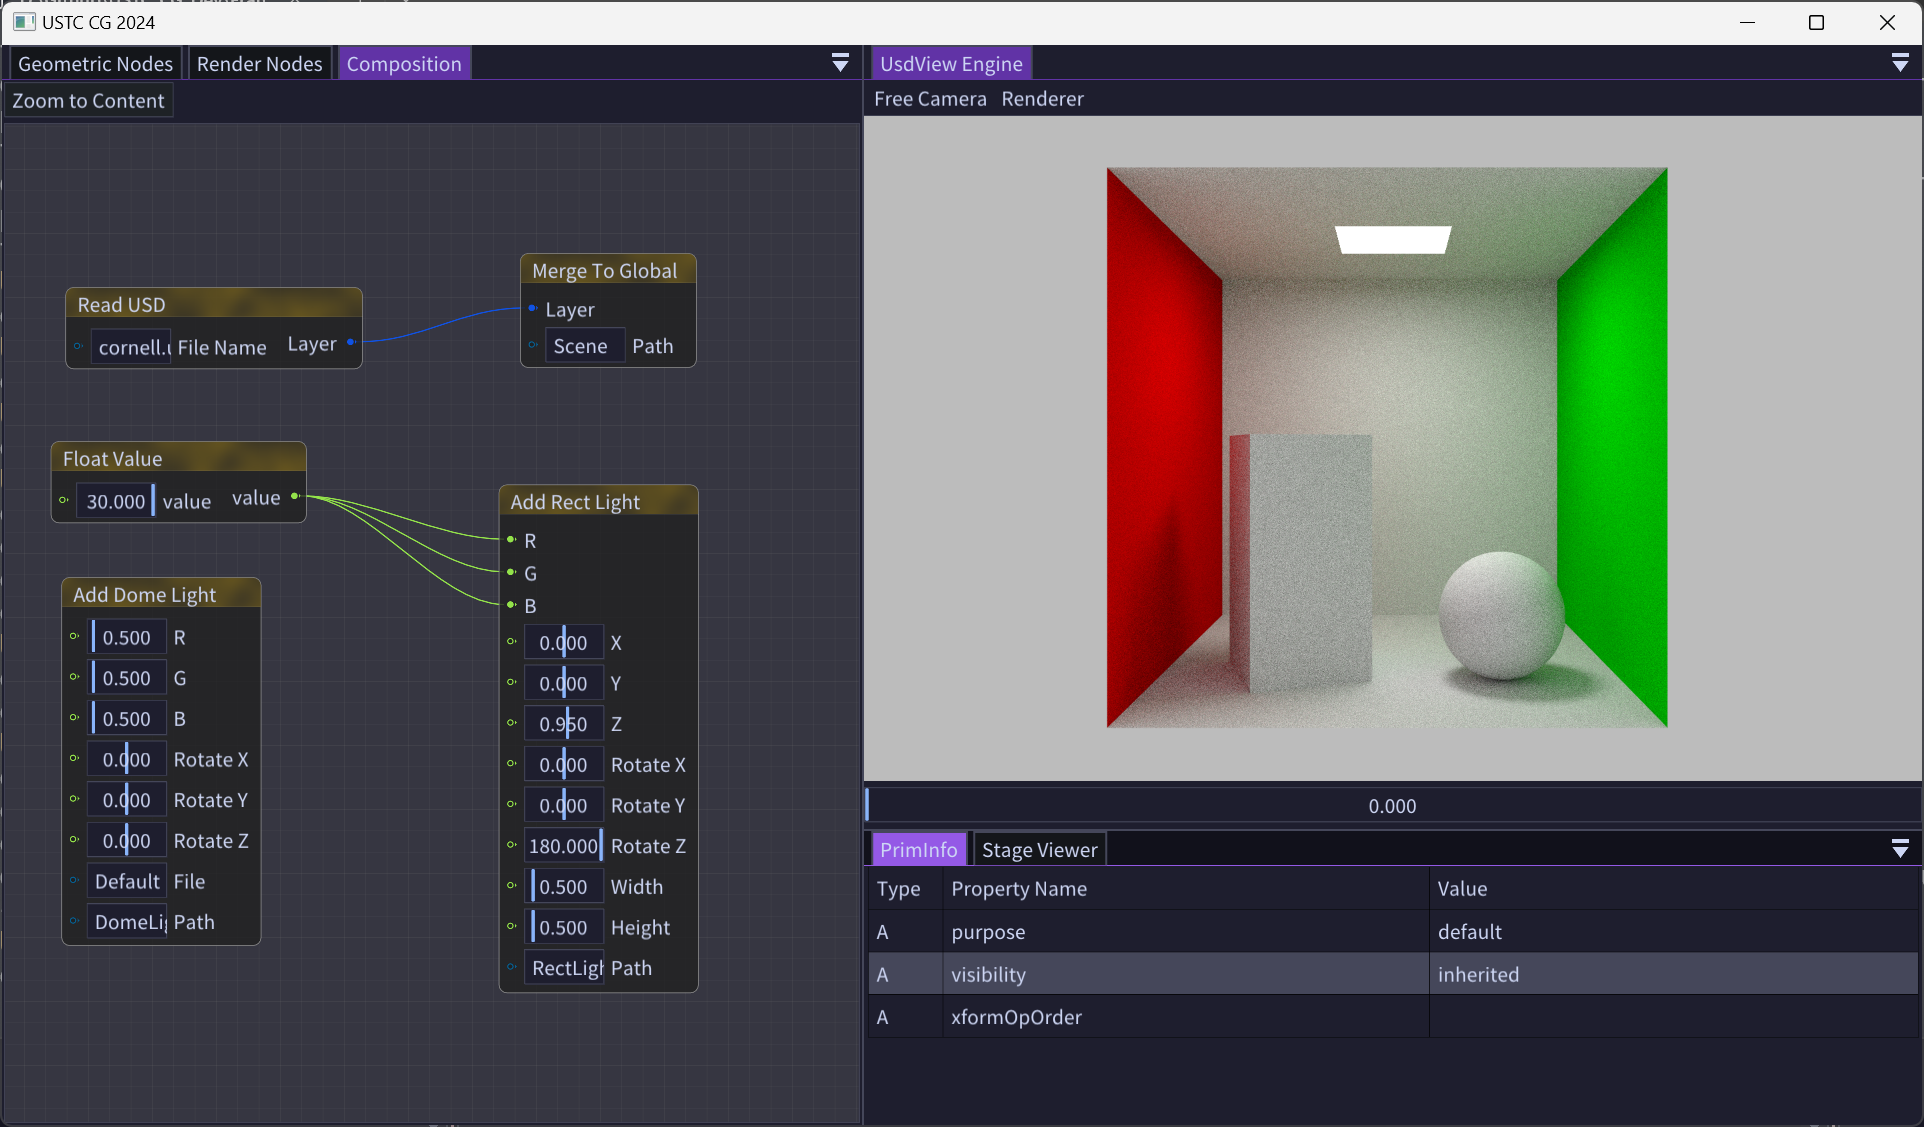
美化效果如下:
[USTC-CG] 附:Python 版本指定 Python 3.10 在 USTC CG 24 框架中主要用于节点模块脚本生成节点代码。find_package 会优先在环境变量中寻找 python.exe,如果同时装有多个版本,在这里也许会出问题。报错形式如下:
1 2 3 4 5 6 7 Severity Code Description Project File Line Suppression State Details Error CMake Error at C:/Program Files/Microsoft Visual Studio/2022/Community/Common7/IDE/CommonExtensions/Microsoft/CMake/CMake/share/cmake-3.27/Modules/FindPackageHandleStandardArgs.cmake:230 (message): Could NOT find Python3: Found unsuitable version "3.11.9", but required is exact version "3.10" (found _Python3_EXECUTABLE-NOTFOUND) Reason given by package: Interpreter: Wrong version for the interpreter "D:/Softwares/Anaconda3/python.exe" C:/Program Files/Microsoft Visual Studio/2022/Community/Common7/IDE/CommonExtensions/Microsoft/CMake/CMake/share/cmake-3.27/Modules/FindPackageHandleStandardArgs.cmake 230
解决方案:在 CMakeLists.txt 中 find_package 前加上:
1 2 3 4 5 6 7 set (Python3_DIR {your/path/to/python310}) set (Python3_EXECUTABLE ${Python3_DIR} /python.exe) find_package (Python3 3.10 EXACT COMPONENTS Development Interpreter REQUIRED)file (COPY ${Python3_RUNTIME_LIBRARY} DESTINATION ${OUT_BINARY_DIR} )
其中 python.exe 的地址应自己视情况指定。